Installing a Graphics Card
Learning the basics of installing a graphics card. A custom built PC can display great graphics of it has chips integrated in the motherboard.
If you need high quality graphics like those for editing videos, playing games or for graphic design then installing a graphics video card is the best option for you.
Learn the Basics of Installing a Graphics Card
The process of doing this is not as complicated as most people make it out to be. All you need to do is learn the basics of what needs to be followed in order to see the entire process through successfully.
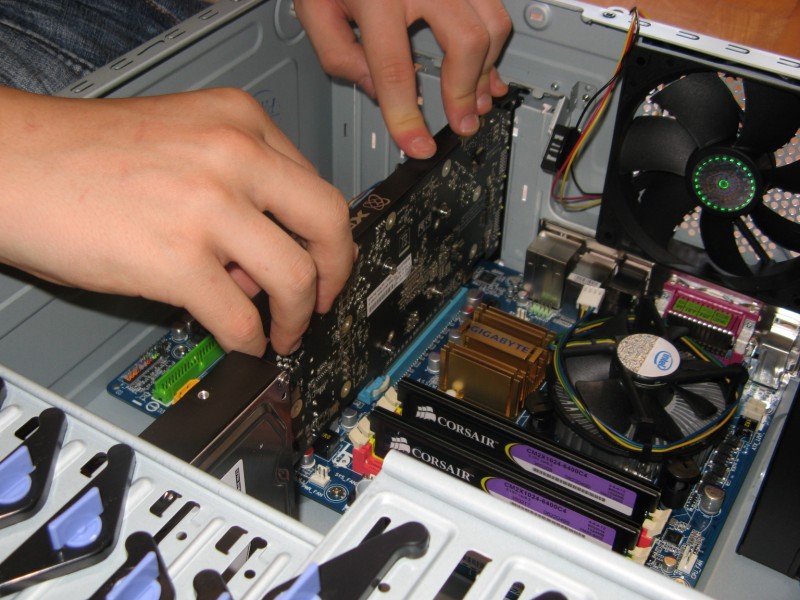
The first thing you need to do while installing a graphics video card is determining the type of expansion slot you have. There are different types and it is essential to look at the motherboard and read the schematic of the user manual in order to make the right choice.
The next thing you need to do is get rid of any old drivers you might have for graphic card and this can be done by double clicking on the graphic card feature. Note that different un-installation techniques need to be used for different systems and we can provide the information needed to ensure the process is easy.
If the PC does not have any prior card, this step can be ignored. Next when installing a graphics video card, you need to turn the PC off by disconnecting the cord or unplugging it from the power supply.
In the event the PC was running before you turned it off, make sure that you give it time to cool before you proceed. While installing a graphics video card, you also need to open the case and ensure that you ground yourself before you do anything else.
You will see a slot for installing a graphics video card and you should firmly install the card and proceed to replace the case of the PC once you are done. With these simple yet effective steps, it should be easy for you to complete the entire installation process quickly.
See Also...
Site's Navigation
 Subscribe To This Site


Copyright 2010-2016 Custom-Build-Computers.com | Faisal Opare | All rights reserved.