Laptop Motherboard Replacement Instructions
Laptop motherboard replacement instructions. When a laptop stops working, your motherboard may have a problem therefore you need to install a new one.
A laptop has limited space and therefore, it is more difficult to open its motherboard. It is possible to open a motherboard even if you do not have any computer skills.
Guidelines On Laptop Motherboard Replacement
Before you can install the motherboard, you need to turn off your laptop and let the bottom face up. Remove the battery before you open the laptop lid to get to the keyboard. Get something flat and slide it above the keyboard to pop it open.

The cable that is connected to the motherboard should be disconnected. Remove the keyboard by loosening the screws used to hold the keyboard and disconnect the cable used to connect it to your motherboard.
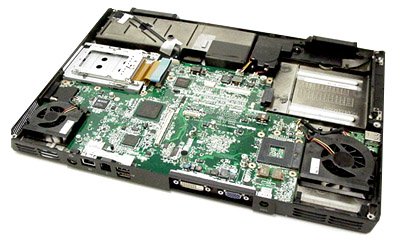
You also need to remove the screws used to hold down the motherboard in the laptop. Once you remove the screws, you can remove the motherboard slowly. Put in a new motherboard into your laptop and ensure all the drive ports are lined correctly. All the cables need to be re-connected before you put back all the hinges and screws.
Place the keyboard back and then re-connect its screws. The plastic top on the keyboard should be placed back in place before you put the battery. Once the battery is in, you can power it to make sure the new motherboard is working properly. The screws used on laptops are very small therefore, you should make sure they do not get lost when you are opening it up.
Before you open your laptop, it is advisable to read the manual it came with to determine if the warranty covers the replacement. The warranty may become void if you install a new motherboard on your own therefore you should read the manual carefully before replacing it.
See Also...


