How to Connect PC Internal Speakers to The Motherboard
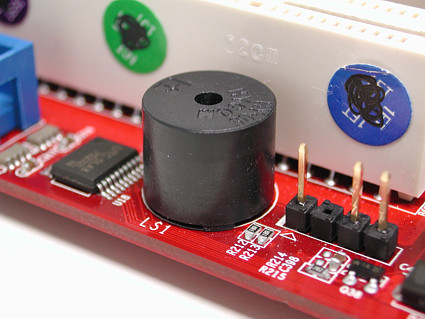
Connect PC internal speakers guide. Everyone wants a computer that is capable of producing audio. May it be music, online telephony or simply system warning sounds. The sounds can be produced by either the computers internal speakers or the external speakers. In most cases, Personal computers come with internal speakers already attached hence one does not require to connect them.
One may choose to upgrade the speakers or simply replace those that have malfunctioned. Before you start the process you have to be keen and concentrate, as the process requires high concentration. If the PC is still connected to the power source, the first step is to detach it. This is to avoid you being electrocuted.

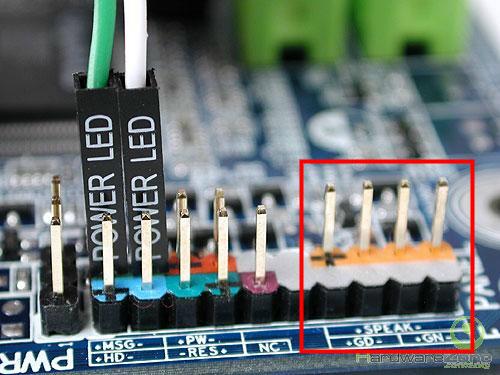
Then open the back cover of the PC to gain access to the mother board. Before you start working on the PC, ensure that you wear gloves to protect your self from mild shocks emanating from the computer. Connect the speaker cables to the corresponding pins on the PC motherboard. Here you have to be very keen as a slight mistake can lead to damage of the whole motherboard.
You should have good knowledge of the motherboard as well as the internal PC speakers. Ensure that each wire goes to the exact pin it is supposed to go into on the motherboard. In case you are not sure, you can consult the manufacturer's manual. Make sure that each of the colored wires exactly corresponds to the voltage indicated on the pins on the motherboard.

After you are through, connect the power connector back as per the instructions of the specific model you are using. Normally, power connectors have four pins. Return the motherboard carefully into position without disconnecting any wires. Then connect the power system and turn on the computer. The computer automatically indicates it has detected new hardware. Your internal speakers are now ready for use.
See Also...


