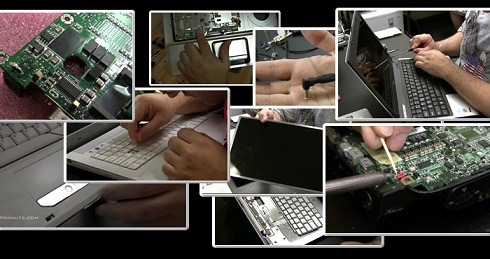
Laptop Assembling
Laptop assembling best quick guide. In any situation with the right tools, good instructions, a patient mind for performing frustrating work in limited space, it is possible to build a laptop from scratch.
Building your own laptop from scratch can give you immense pleasure and satisfaction with chances of saving some amount of money and having a faster working unit than a more expensive assembled laptop computer.
Laptop Assembling Tips and Tricks Guidelines
In preparation this process starts with the barebones models that you might acquire just from you local electronic store for a good price and from there you replace the lower performing components for higher ones and have options you want until you have a heck of a laptop. The hard part comes with the optical scanner and motherboard but almost everything else is modified.
But before all that create an inventory of your parts making sure you have CPU, memory, hard drive, graphics card and wireless card and not to forget the large and small head screwdrivers with magnetized heads, needle-nose pliers and small baggies not to misplace the screws.
On a clean surface flip your laptop upside down and take off the rear part, allowing you to take a good look into the spaces in which you will fill up with your much speedier components. The brain of any laptop, the central processing unit, is the best place to begin its installation. Taking care not to slide it in, drop it carefully into its slot.
Next step you have to insert the video card into the correct slot by gently holding it at a 30 degree angle and pushing inwards and downwards. Using a thumb, apply pressure as you insert the hard drive into its slot and with a click, it is firmly in place.
Now insert the memory boards the same way as the video graphics card and you are done with the insides of your laptop. Replace the cover, install the battery, plug it in, and switch it on. Finally, make sure your new laptop is usable by installing the operation system.
See Also...
Site's Navigation
 Subscribe To This Site


Copyright 2010-2016 Custom-Build-Computers.com | Faisal Opare | All rights reserved.