How To Make Bootable Pendrive
Easy tips guide on how to make bootable pendrive. A common use of a bootable pendrive is to use it for booting into Windows. There are many reasons as to why you would want to have a pen drive. If you are a netbook user, you would love to avoid regular use of a CD.
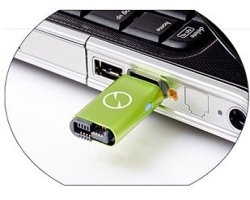
In this case, you need to create a bootable pen drive. Creating the drive is not a hard task. It is important that you get valuable information on how to make bootable pen drive before you embark on the process. Insert a formatted USB stick to your system. A 4GB system is always recommendable.
Guidelines On How To Make Bootable Pendrive
Once you have inserted a formatted USB, you need to open the elevated command and prompt. This is a simple step that anyone can do. Type CMD in the start menu search field, press Ctrl+ Shift + Enter. You can also navigate to Start, all programs then to accessories and right click to access the command.
Select run and enter DISKPARK and press the enter button, Type LIST DISK and hit enter to access the number of your USB drive. There are also other commands that you need to enter when learning how to make bootable pen drive.
You will need to enter clean, create partition primary, select partition 1, active, format FS-NTFS, assign, exit then Bootable USB. Once you have entered all these commands, you need to minimize the command window and insert your DVD in the optical drive.
While getting all the details on how to make bootable pen drive at this stage, you also need to be keen on your letters. Your D will be visual, and letter H will be your USB drive letter.
Go back to command and prompt, click on D: CD BOOTH and hit enter. Lastly type CD BOOTH and hit enter and you will have created your bootable pendrive. Copy the contents of your DVD to your pendrive. Making a bootable pen drive may not be easy on your own and you can always seek professional help to create the best pendrive.
See Also...
Site's Navigation
 Subscribe To This Site


Copyright 2010-2016 Custom-Build-Computers.com | Faisal Opare | All rights reserved.