Motherboard IDE Configuring
Understanding Motherboard IDE configuring guide. IDE stands for integrated drive electronics and it is the main technology that is used to connect a hard drive to a motherboard.
This technology is also applied in CD-ROMS drives and various devices. If the IDE setup in your computer is not performing at its best, it can interfere with the performance of your machine.
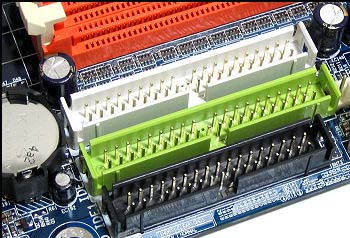
If you want to configure IDE in motherboard, there are various steps that you need to follow. In most cases, a motherboard comes with two IDE sockets. It can have a primary IDE and a Secondary IDE. Two devices can be connected to these IDE connectors using appropriate cables. To get maximum performance from each device, you need to configure both of them as master.
Motherboard IDE configuring Guidlines Steps
- The first thing that you need to do is determine the number of devices that you need to link with the IDE. This includes all the hard drives and any devices that need IDE connections.
- Channels should be allocated according to how you intend to use them once the IDE is configured. CD burners and CD-ROM drives need to be set on different channels.
- The devices that you have also need to be matched depending on their speed. There are some direct memory access devices that are able to perform better without any DMA capabilities. DMA only works well if the devices available on the channel apply DMA.
- You get an additional IDE controller or a motherboard which has several in-built channels if you require more IDE channels.
- Once this is done, you can open up the computer to install new hardware. Make sure you follow the manufacturer's instructions for every component.
- The IDE devices can be reconfigured according to the new setup if you want your computer to perform at its best.
It is important to take a lot of care when you are taking the computer part to prevent electrocution.
See Also...
Site's Navigation
 Subscribe To This Site


Copyright 2010-2016 Custom-Build-Computers.com | Faisal Opare | All rights reserved.